

How Do I Protect Myself Against Hackers
Learn simple cybersecurity rules to protect your social media, WhatsApp, and bank accounts. A practical guide to avoid becoming an easy target.

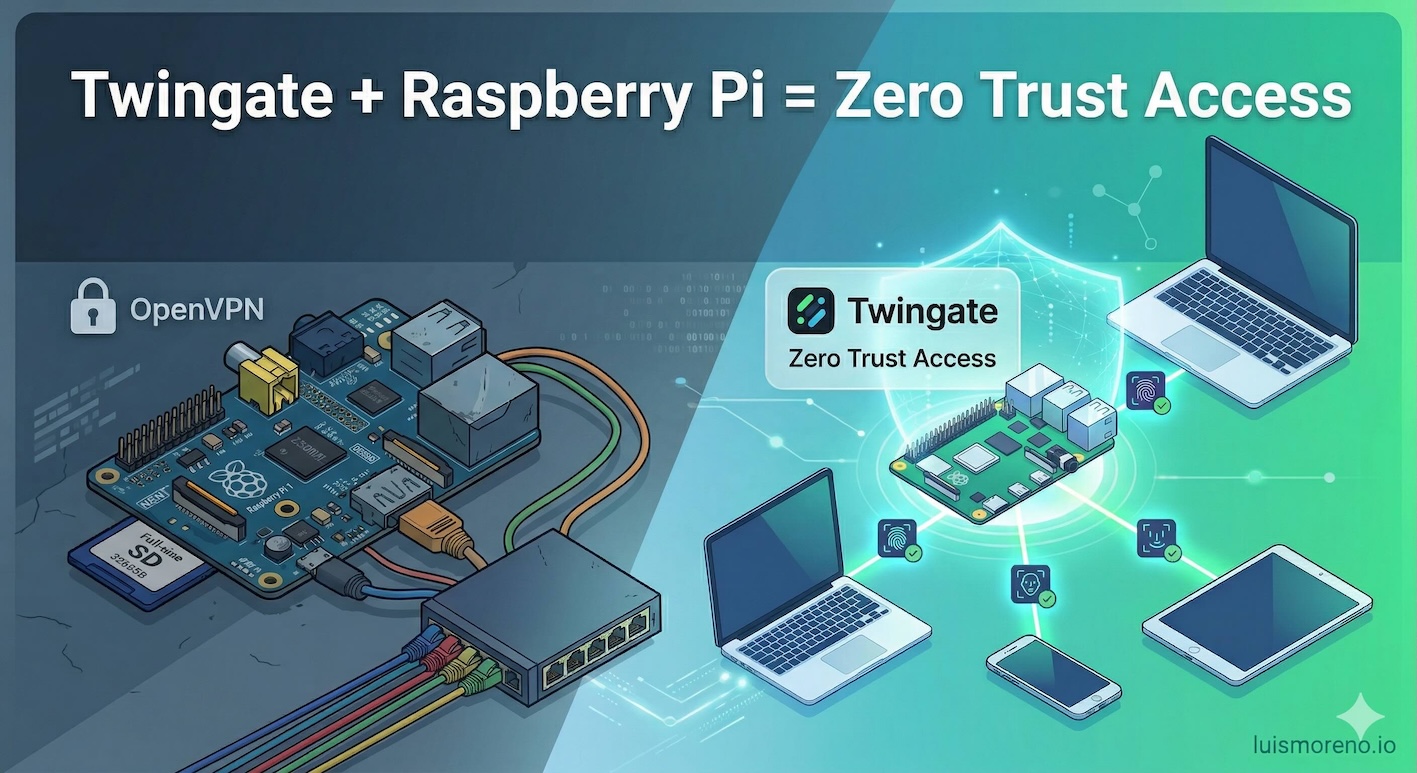
I have been using OpenVPN for a long time and it has worked well for me, I have it running for some things with a Raspberry Pi 1 Model B that only has 256 MB of RAM, it was manufactured in 2012, despite its limitations it has always worked well, the best $1,000 pesos I have invested in hardware, the ROI is incredible.
But I wanted to try a modern solution and I found two options Twingate and Tailscale, they are very similar and both offer a remote access experience based on the Zero Trust model, but Twingate allows you up to 5 free users, while Tailscale only gives you 3 free users, so I decided on Twingate, maybe later I will make a post about Tailscale so you can compare, but both are excellent options and operate very similarly.
First a little reminder of the Zero Trust model which is a paradigm that has become very popular especially with the increase in remote work and the need to access internal resources securely from anywhere. The Zero Trust model is based on the principle of “never trust, always verify”, which means that no user or device is trusted by default, even if they are inside the corporate network. Instead, strict authentication and authorization is required for every access to resources, which helps protect against internal and external threats.
With traditional VPNs, once a user connects to the network, they have access to all available resources, which can be risky if the user’s device is compromised or if the user has bad intentions. In contrast, with the Zero Trust model, each access request is evaluated individually, and access is only granted to the specific resources that the user needs to perform their work.
Ok, once the concept of Zero Trust is clarified, let’s get to what really matters, how to set up Twingate on a Raspberry Pi to have secure remote access to your home or office network.
First you need a Raspberry Pi with Raspbian OS installed and configured. Make sure your Raspberry Pi is connected to your local network and has access to the Internet. The models supported by Twingate are Raspberry Pi 3B, and above.
Then, go to the Twingate website and sign up for a free account. After signing up, you need these three elements:
To install the connector on your Raspberry Pi, you can use the following command in your Raspberry Pi terminal, make sure to replace the values of <TU_ACCESS_TOKEN>, <TU_REFRESH_TOKEN> and <TU_SUBDOMAIN> with the corresponding information from your Twingate account:
curl "https://binaries.twingate.com/connector/setup.sh" | sudo TWINGATE_ACCESS_TOKEN="<YOUR_ACCESS_TOKEN>" TWINGATE_REFRESH_TOKEN="<YOUR_REFRESH_TOKEN>" TWINGATE_URL="https://<YOUR_SUBDOMAIN>.twingate.com" bash
With that basically you have Twingate configured on your Raspberry Pi and you can access your home or office network securely from anywhere, from your Laptop, from your cell phone, from another network, etc. Remember that the Zero Trust model allows you to control exactly which resources can be accessed by each user, which significantly increases the security of your network.
The connector can be a computer or even a container within a computer on your network, it doesn’t necessarily have to be a Raspberry Pi, but it seems like a good option to me because at home the power goes out very often and being a Raspberry Pi when the power returns it reconnects automatically, in addition to being a low consumption and low cost device, so it’s an excellent option for this type of configurations.
If I have a little time later I will make the video with the steps.
Learn simple cybersecurity rules to protect your social media, WhatsApp, and bank accounts. A practical guide to avoid becoming an easy target.
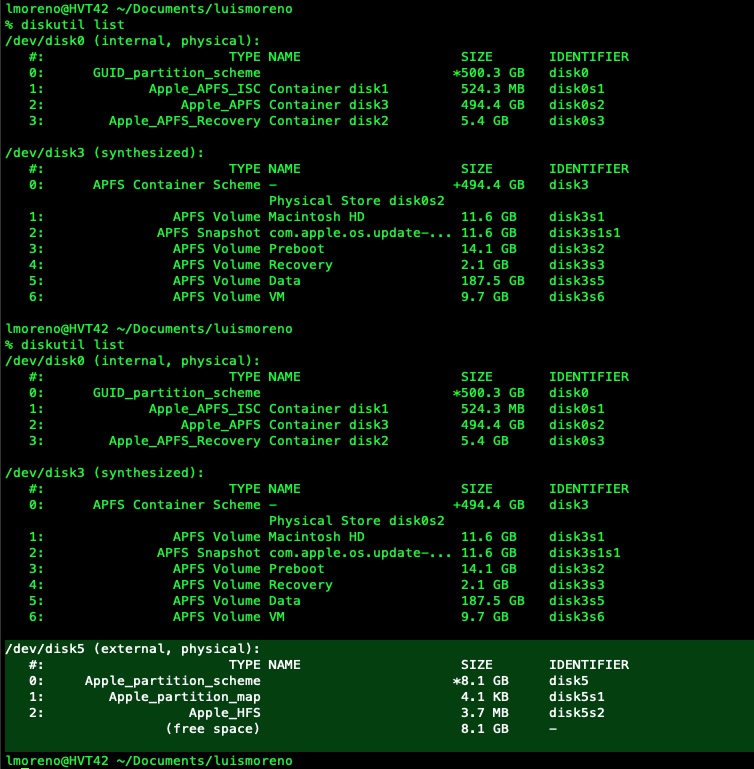
Learn how to create a bootable Kali Linux USB on macOS using the terminal and the dd command.
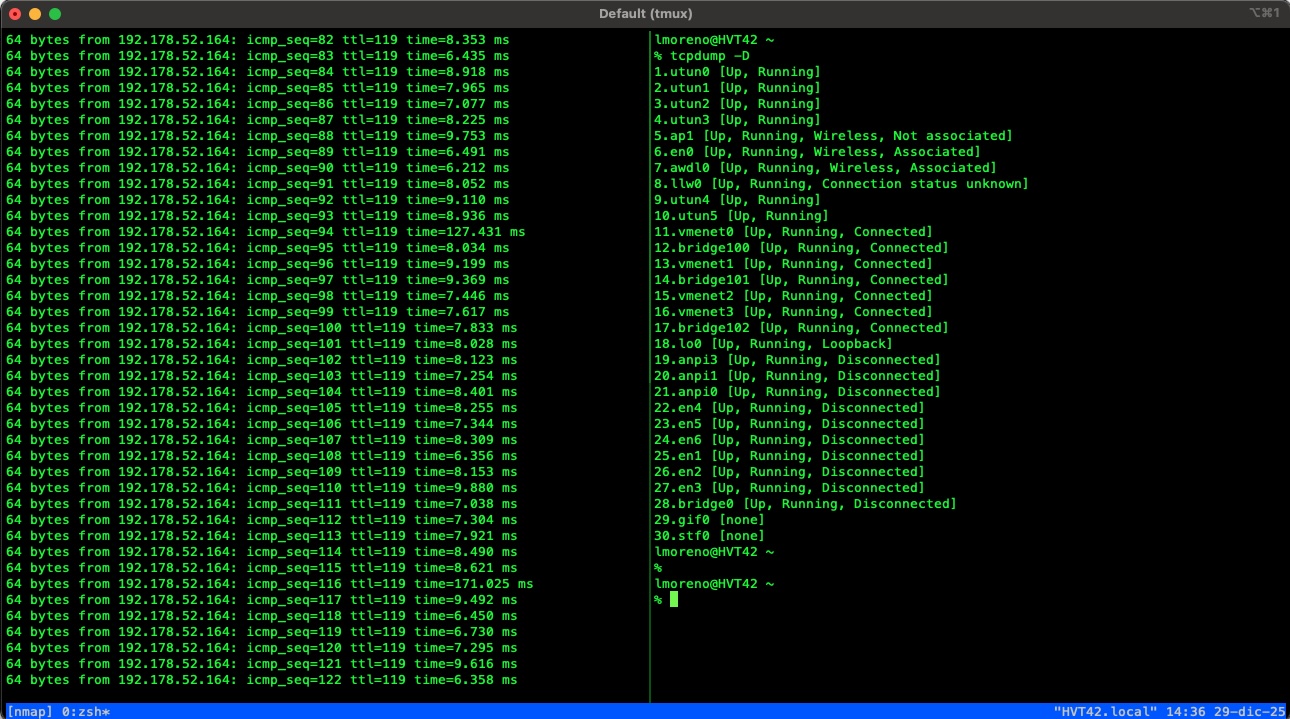
tmux cheat sheet